May and June are the time for celebrations - lots of end of the year events, proms, recitals and, most importantly, graduations. Our niece and nephew (twins) graduated from high school last year and I pulled out my Cricut Explore to help make decorations for the party.
Their school colors are blue and gold. After some discussion, I found out that the gold was "shiny gold" not just a dark yellow.
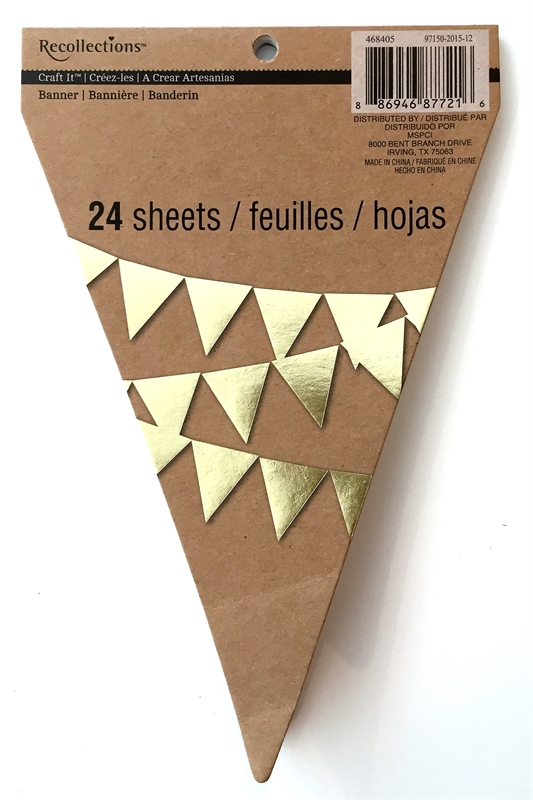
Since I needed quite a lot of pennants to make the banners and I didn't have a lot of shiny gold cardstock, I went shopping and found these packaged banner bases at Michael's. They come in many colors and are from the Recollections collection.
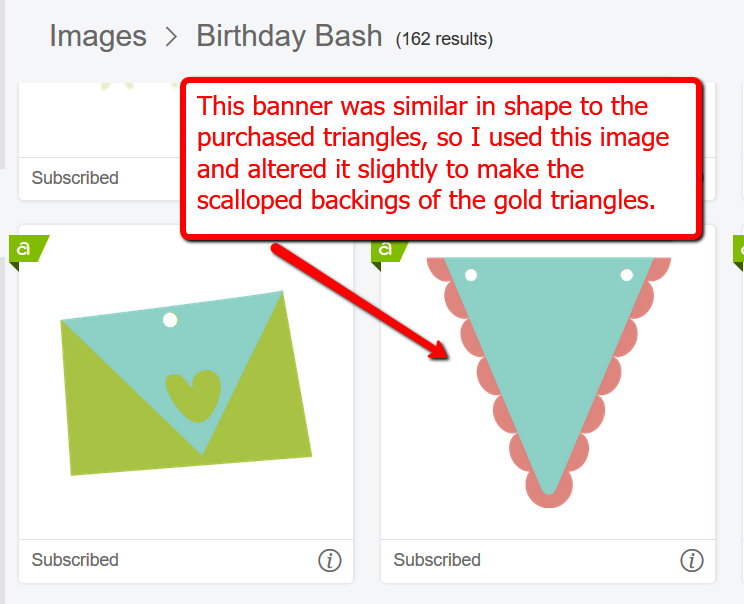
I looked through the banner images available in the
Cricut Access Library and found one with a similar shape on the Birthday Bash cartridge. Then I measured the purchased pennant shape and adapted the scalloped backing to fit evenly behind the gold triangle.
(Links to the Cricut site in this post are compensated affiliate links).
The visualization of your saved projects is on of the things that has greatly improved in the new version of the Design Space program (Design Space 3, public Beta). When you look through your projects, you can see a small preview instead of just a title and when you choose a project the work area and a list of the images you used are clearly displayed.
I made four banners for the party, "Congratulations," "Class of 2016" and one for each of them with their names - "Kathryn" and "Thomas." The cardstock I was using was 8 1/2 x 11 so I worked out the most efficient placement of the letters I needed to cut and "attached" the groups of letters together so they would cut in the exact positions that I had set up and conserve cardstock. I also attached two of the scalloped pennant shapes so they would be cut on one sheet of 8 1/2 x 11 cardstock.
To help keep track of the project, I added a text box with the details of the number of pieces I needed to cut. I set the color for these notes in a color not used for the banner parts so I could just skip this when I was cutting. You could also hide it using the "eyeball" in the layers panel but then you have to remember to look for it - I find it easier to keep it showing).
I also found these tassels at Michael's and decided to add a few to each banner. I punched the holes in the tops of the banners by hand since I was using a combination of cut pieces and purchased pieces.
The white ovals were needed to help the blue letters stand out - they were difficult to read if you put them directly on the gold layer. I made a template to punch the holes evenly along the tops and used some blue satin ribbon to string the words together. You can just see one of the gold tassles on the right side of this photo.
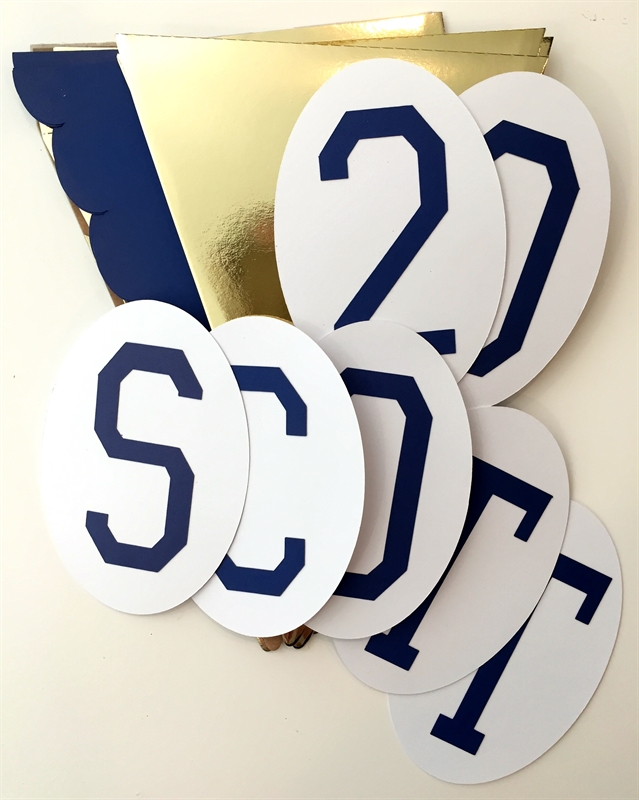
With abundant forethought (!) I cut out the letters and the graduation year for their younger brother Scott who is currently attending the same high school. Preparations for his party will go faster with the bigger banners already done. The letters are cut with the Varsity Letter font which is included in the
Cricut Access.
"Congratulations" is a very long word - 15 letters!. Fortunately, the banner fit neatly along a shelf at one end of the room.
Another lucky coincidence was the extra letter in Kathryn's name which added just enough extra length to make the banner fit nicely below the banner for Thomas.
The "Class of 2016" banner fit neatly at the entrance to the dining room.
They were both very cooperative about posing for photos - over and over again!
(It might have been the promise of cake that would be served soon that kept them smiling).
The cakes were simply decorated with the initials of their colleges. It's hard to believe that they are just now finishing their first year of college!
When you have a big family gathering, the banners make nice "headlines" for the various group photos that we take to memorialize the occasion.
Here are the proud grandparents with five of the six siblings in my husband's family (one brother wasn't able to come all the way from Colorado). So many aunts and uncles!
I also made their cards with the Explore, using the writing feature for the blue sentiment and gold border around the insert. This file could be adapted for 2017 by hiding the cut line for the "6" and adding a "7" in a compatible font.
The card has a male and a female version which worked out perfectly. I used the parts that were cut from the blue card base to repeat the year on the white envelope. The 2016 Graduation money cards are by Rob and Bob and the image identifiers are
#M10B4CBA for the male version and #M10C14CF for the female version. These cards are not included in the subscription but can be purchased separately.
I used the writing font Kyden inside the card. This is also included in the Cricut Access Subscription.
Do you have any graduations coming up this month or next? Congratulations to your graduate and your entire family for this milestone!
This post may contain affiliate links. If you purchase a product using the link I may receive a commission. I only participate in affiliate programs for products that I use or can recommend without reservation.
Subscribe to Capadia Designs if you would like to have new posts delivered directly to your email.